Butterfinger Caramel Crunch Bars
If you’re looking for the perfect sweet, salty, crunchy, and gooey dessert that requires zero oven time, these Butterfinger Caramel Crunch Bars are exactly what you need. Loved for their layered textures and addictive flavor, this easy recipe has taken over potlucks, bake sales, and Pinterest boards alike.
These dessert bars are made from graham cracker crust, a marshmallow-caramel center, and a crunchy Butterfinger topping, all finished with a drizzle of melted chocolate. Whether you’re baking for a crowd or treating yourself, these no-bake bars strike the perfect balance between indulgent and effortless.
Before we get into the full recipe and variations, let’s look at what makes these bars truly special. They combine the nostalgia of a favorite candy bar with the comfort of home-baked desserts. To better understand the technique behind these bars, check out this guide on No-Bake Dessert Techniques which offers useful tips for perfecting layered no-bake recipes.
And if you’re curious about the star ingredient itself, you’ll enjoy learning the history of Butterfinger candy, which dates back to the 1920s and has remained a favorite for its unique crispity, crunchy, peanut-buttery texture.
🥄 Ingredients You’ll Need For Butterfinger Caramel Crunch Bars
These Butterfinger Caramel Crunch Bars are simple but layered with flavor. Here’s a breakdown of the essential ingredients:
Crust Layer
- 6½ sheets graham crackers, crushed
- 2 cups mini marshmallows
Caramel Layer
- 1 (11 oz) bag caramel bits or wrapped caramels
- 2 tablespoons milk (or cream for extra richness)
Crunch & Topping
- 1 (10 oz) bag Butterfinger bites, coarsely chopped
- 2 oz semisweet or white chocolate, melted
🔪 How to Make Butterfinger Caramel Crunch Bars
Creating these bars is fast and foolproof. Just follow these steps:
- Prepare the Base
Line a 9×9-inch pan with foil and coat with non-stick spray. Spread crushed graham crackers evenly across the bottom. - Add Marshmallows
Evenly sprinkle mini marshmallows over the crust. - Melt the Caramel
Microwave caramel bits and milk in 30-second intervals until smooth. Stir well and pour evenly over the marshmallows. - Add Butterfinger Crunch
Gently press chopped Butterfinger bites into the warm caramel layer so they set properly. - Finish with Chocolate
Drizzle melted chocolate over the top. Chill for at least 1 hour until firm. - Slice & Serve
Lift out the foil, cut into squares, and enjoy your chewy, crunchy treat.
💡 Tips for Perfect Butterfinger Caramel Crunch Bars
To make sure your no-bake bars come out perfectly each time:
- Caramel too thick? Add 1 tbsp of cream to smooth it.
- Dull chocolate drizzle? Mix in 1 tsp of oil for a glossy finish.
- Base too crumbly? Add an extra tbsp of melted butter.
- Sticky bars? Chill longer or freeze for 15 minutes before slicing.
🍬 Delicious Variations to Try
One of the best things about Butterfinger Caramel Crunch Bars is how easy they are to customize. Whether you’re craving something extra salty, want to add peanut butter, or need a gluten-free option, there’s a version of this dessert for every taste and occasion.
Here are some of the most popular variations to inspire your next batch:
🧂 1. Salted Pretzel Crunch
- Replace graham crackers with crushed pretzels
- Add a sprinkle of sea salt flakes on top
- Perfect for fans of the sweet-and-salty combo
🥜 2. Peanut Butter Swirl
- Add a layer of melted peanut butter between the caramel and chocolate
- You can also mix peanut butter into the melted caramel for extra richness
- Creates a flavor similar to Butterfinger meets Reese’s
🍫 3. S’mores Style Bars
- Swap regular graham crackers for chocolate graham crackers
- Add mini chocolate chips to the marshmallow layer
- Finish with a toasted marshmallow topping for that classic campfire flavor
🍪 4. Brownie Base Swap
- Use a pre-baked brownie layer instead of graham crackers
- Adds a fudgy texture that pairs beautifully with the crunchy Butterfinger topping
🌾 5. Gluten-Free Option
- Use gluten-free graham crackers or pretzels
- Ensure that all other ingredients (especially caramel and Butterfinger pieces) are labeled gluten-free
🍯 6. Toffee Lover’s Twist
- Add crushed Heath or toffee bits along with the Butterfinger layer
- Enhances the crunch factor and adds a buttery caramel flavor
These delicious variations make it easy to adapt Butterfinger Caramel Crunch Bars to any craving or dietary need. Don’t be afraid to mix and match—sometimes the best desserts come from experimenting!
🎁 Serving Ideas & Presentation

These bars are ideal for gifting or entertaining. Here are some suggestions:
- Cut into bite-sized pieces for holiday trays
- Pair with coffee or hot cocoa for a cozy treat
- Wrap in wax paper and ribbon for edible gifts
- Serve at bake sales, school events, or family gatherings
🧊 Storage & Make-Ahead Tips
One of the many reasons to love Butterfinger Caramel Crunch Bars is their flexibility—they’re not just easy to make, they’re incredibly easy to store and even better when made ahead of time.
🧁 How to Store Butterfinger Caramel Crunch Bars
For the best taste and texture, follow these storage methods:
- Refrigerator:
Store bars in an airtight container in the fridge for up to 5 days. This helps maintain their firm texture and keeps the chocolate from melting. - Freezer:
For longer storage, wrap individual bars in parchment or wax paper, then place them in a freezer-safe container. They’ll stay fresh for up to 2 months. Let thaw at room temperature for 10–15 minutes before serving.
⏳ Make-Ahead Tips
These bars are perfect for prepping in advance, especially for busy holiday seasons, potlucks, or parties:
- Chill Overnight:
Make the bars the day before your event and let them chill overnight. The flavors meld beautifully, and the bars slice even more cleanly when fully set. - Batch Preparation:
Double the recipe and make two pans at once. Store one batch in the freezer for future cravings or last-minute guests. - Portion Smart:
Cut the bars into bite-sized squares before storing, so they’re ready to serve straight from the fridge or freezer.
With their long shelf life and freezer-friendly nature, these dessert bars are a smart choice for anyone who loves having a delicious treat on hand—anytime, anywhere.
🥗 Nutrition Info (Per Bar)
While indulgent, knowing the breakdown can help:
- Calories: ~245
- Sugar: 26g
- Fat: 12g (6g saturated)
- Carbohydrates: 32g
- Protein: 3g
- Sodium: 140mg
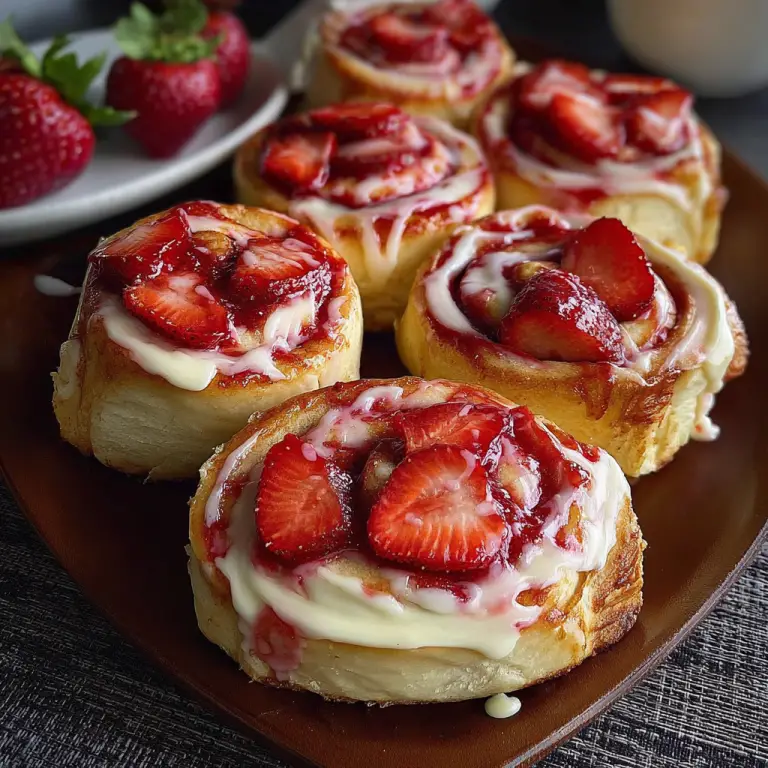
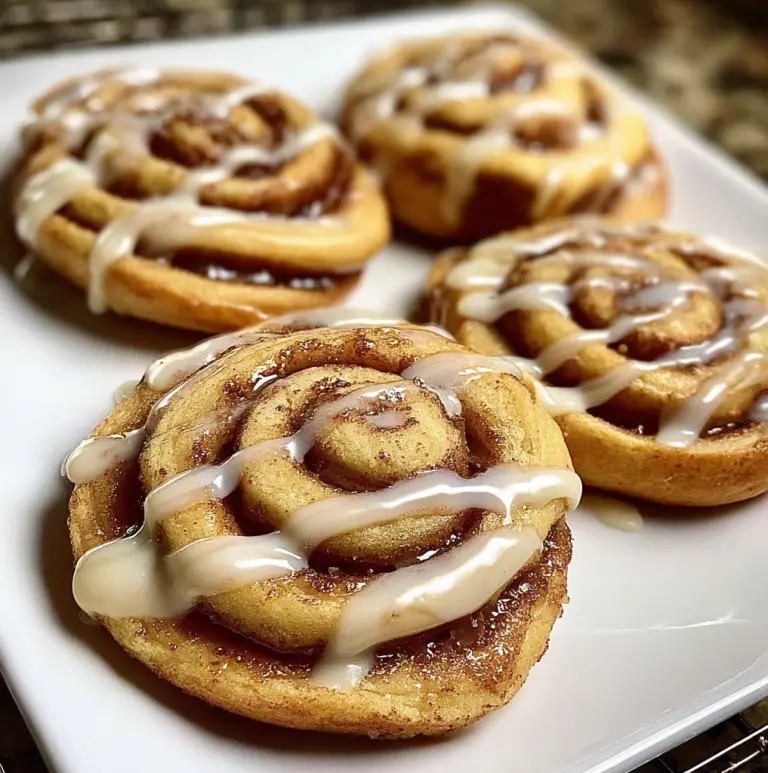
Enjoy these Biscoff Cinnamon Rolls that are a cozy twist on the classic breakfast treat! Soft, fluffy dough is filled with a luscious Biscoff cookie butter and cinnamon swirl, then baked to golden perfection. Topped with a creamy Biscoff glaze, every bite melts in your mouth with sweet spiced flavor. Perfect for brunch, dessert, or a special weekend treat — they’re pure cookie butter heaven!
🛠️ Common Mistakes & Fixes When Making Butterfinger Caramel Crunch Bars
Even though Butterfinger Caramel Crunch Bars are a relatively simple, no-bake recipe, there are a few common issues that can pop up—especially if you’re rushing or trying it for the first time. Here’s how to avoid (or fix) them:
❌ Caramel Turns Hard or Crumbly
Cause: Overheating the caramel or using too little milk
Fix: Add an extra tablespoon of cream or milk while melting the caramel to keep it smooth and pourable. Melt it gently in 30-second intervals to prevent burning.
❌ Chocolate Appears Dull or Grainy
Cause: Overheating or moisture contact
Fix: Melt chocolate slowly at 50% microwave power and stir often. For a glossy finish, add 1 teaspoon of vegetable or coconut oil while melting.
❌ Crumbly or Loose Base
Cause: Not enough butter or overly crushed graham crackers
Fix: Mix in 1–2 tablespoons of additional melted butter to help the crust bind. Press the crust firmly into the pan before adding toppings.
❌ Bars Too Sticky to Cut
Cause: Not fully chilled
Fix: Chill bars for at least one hour or freeze for 15 minutes before slicing. Use a sharp knife greased with oil or butter for clean cuts.
❌ Caramel Separates from Crust
Cause: Base layer too hot when adding caramel
Fix: Allow the crust to cool slightly before pouring the caramel to help it adhere properly.
❓ FAQs: Butterfinger Caramel Crunch Bars
Can I use store-bought caramel sauce?
Yes, but use less and warm it slightly. Store-bought sauces are thinner and can make the bars too gooey.
Can I make these without marshmallows?
Absolutely. Skip them and double the caramel layer for extra gooeyness.
What other toppings work well?
Try:
- Crushed toffee bits
- Mini peanut butter cups
- Chopped Snickers
Can I make them in advance?
Yes! They store well in the fridge for up to 5 days and can be frozen too.
Are these gluten-free or dairy-free?
They can be:
- Use gluten-free graham crackers
- Swap dairy with vegan butter and coconut milk
🏁 Conclusion: Why Butterfinger Caramel Crunch Bars Belong in Your Recipe Box
In a world of complicated desserts, Butterfinger Caramel Crunch Bars prove that you don’t need a long ingredient list or hours in the kitchen to create something truly satisfying. These no-bake dessert bars bring together the perfect combination of crunchy, chewy, sweet, and salty — all in one irresistible bite. Whether you’re hosting a holiday party, prepping for a bake sale, or just need a quick family treat, this recipe fits the moment.
The layers of graham cracker crust, soft marshmallow, gooey caramel, and Butterfinger crunch are what make these bars stand out. Even better, the recipe is flexible. You can swap ingredients, add a peanut butter swirl, or go gluten-free with minimal effort.
Make a batch, store them in the fridge or freezer, and you’ll always have a crowd-pleasing treat on hand. These bars aren’t just about taste — they’re about creating sweet moments and nostalgic comfort.
So if you’re looking for a quick, delicious, and impressive treat, give Butterfinger Caramel Crunch Bars a try. Once you taste them, they’ll become a permanent staple in your dessert rotation.